
Promotional Widget
Instructions for integrating Amwal Installments user-Guideline using Amwal Promotional widget.
Add the Amwal Promotional Widget to your product, cart, or checkout page so customers can view available installment information before payment.
Prerequisites
Before you start, prepare the page where you want to display the widget:
- Open the HTML template for your product, cart, or checkout page.
- Confirm where the installment message should appear on the page.
- Use the transaction amount, currency, and locale that match the customer’s checkout session.
Step-by-step guide
-
Include the Checkout script
Add the Amwal Checkout script to the page
<head>so the browser can load the<amwal-widget>web component.<script type="module" src="https://cdn.jsdelivr.net/npm/@amwaljs/checkout-button@latest/dist/checkout/checkout.esm.js" ></script> -
Add the widget element
Place the widget element where you want the installment message to appear.
<amwal-widget id="amwal-widget"></amwal-widget> -
Configure the widget
Set the widget configuration after the widget element is available on the page. The configuration controls the amount, installment timeline, currency, locale, layout, and optional display elements.
<script> const widgetConfig = { installmentsCount: 6, price: 18, currency: "SAR" }; const widget = document.getElementById("amwal-widget"); if (widget) { widget.config = widgetConfig; widget.showSocialProof = true; widget.showPopularBadge = true; widget.showMonthlyPayment = true; widget.showGreenBorder = true; widget.locale = "en"; widget.alternateHeadline= "false"; // "true" for cars widget widget.tabsVariant= "classic", // "cards" for cars widget widget.showExtendedStep4 = true; widget.socialProof= "false"; widget.popularBadge= "true"; widget.fullInteractiveMode= "true"; widget.showStep= "false"; widget.widgetLayoutTheme= "mobile"; widget.showSavings= "true"; widget.showBenefits= "false"; widget.showThreeMonthPlan= "false"; widget.socialProofText = "⭐ Trusted by 50,000+ happy customers"; }else{ console.error("Amwal widget element was not found on the page."); } </script>
Optional: Complete HTML example
Use this example to test the widget on a standalone HTML page before adding it to your storefront template.
<!doctype html>
<html lang="en">
<head>
<meta charset="utf-8" />
<meta name="viewport" content="width=device-width, initial-scale=1" />
<title>Amwal Promotional Widget</title>
<script
  type="module"
  src="https://cdn.jsdelivr.net/npm/@amwaljs/checkout-button@latest/dist/checkout/checkout.esm.js"
></script>
</head>
<body>
<amwal-widget id="amwal-widget"></amwal-widget>
    <script>

    const widgetConfig = {
        installmentsCount: 6,
        price: 18,
        currency: "SAR"
      };

      const widget = document.getElementById("amwal-widget");

      if (widget) {
        widget.config = widgetConfig;
        widget.showSocialProof = true;
        widget.showPopularBadge = true;
        widget.showMonthlyPayment = true;
        widget.showGreenBorder = true;
        widget.locale = "en";
        widget.alternateHeadline= "false"; // "true" for cars widget
        widget.tabsVariant= "classic", // "cards" for cars widget
        widget.showExtendedStep4 = true;
        widget.socialProof= "false";
        widget.popularBadge= "true";
        widget.fullInteractiveMode= "true";
        widget.showStep= "false";
        widget.widgetLayoutTheme= "mobile";
        widget.showSavings= "true";
        widget.showBenefits= "false";
        widget.showThreeMonthPlan= "false";
        widget.socialProofText = "⭐ Trusted by 50,000+ happy customers";

      }else{
        console.error("Amwal widget element was not found on the page.");
      }
    </script>
</body>
</html>Key options
All configuration values are passed as strings.
| Property | Description | Accepted values or example |
|---|---|---|
price | Transaction amount shown in the widget. | "18" |
installmentTimeline | Installment timeline shown to the customer. | "3", "6", "12", or "24" |
currency | ISO currency code shown in the widget. | "SAR" |
locale | Language used by the widget. | "en" or "ar" |
widgetLayoutTheme | Layout theme used by the widget. | "mobile" or "desktop" |
showGreenBorder | Shows or hides the green border. | "true" or "false" |
showMonthlyPayment | Shows or hides the monthly payment amount. | "true" or "false" |
showSavings | Shows or hides savings information. | "true" or "false" |
socialProof | Shows or hides social proof text. | "true" or "false" |
socialProofText | Custom social proof message. | "⭐ Trusted by 50,000+ happy customers" |
popularBadge | Shows or hides the popular badge. | "true" or "false" |
tabsVariant | Tab style used in the widget. | "classic" or "cards" |
alternateHeadline | Enables the alternate headline. | "true" or "false" |
showBenefits | Shows or hides the benefits section. | "true" or "false" |
showExtendedStep4 | Shows or hides the extended step 4 content. | "true" or "false" |
showThreeMonthPlan | Shows or hides the three-month plan. | "true" or "false" |
fullInteractiveMode | Enables or disables full interactive mode. | "true" or "false" |
showStep4 | Shows or hides step 4. | "true" or "false" |
Widget placement
You can place the widget on product, cart, or checkout pages. When a customer clicks the widget, it opens a popup modal with more information about how Amwal installments work with banks and the accepted installment timeframes.
Installment Widget
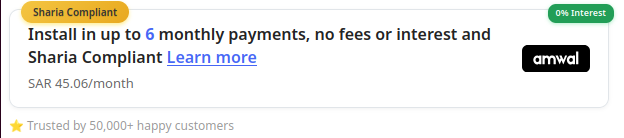
Amwal Promotional Widget displayed on a storefront page before checkout.
Installment Modal
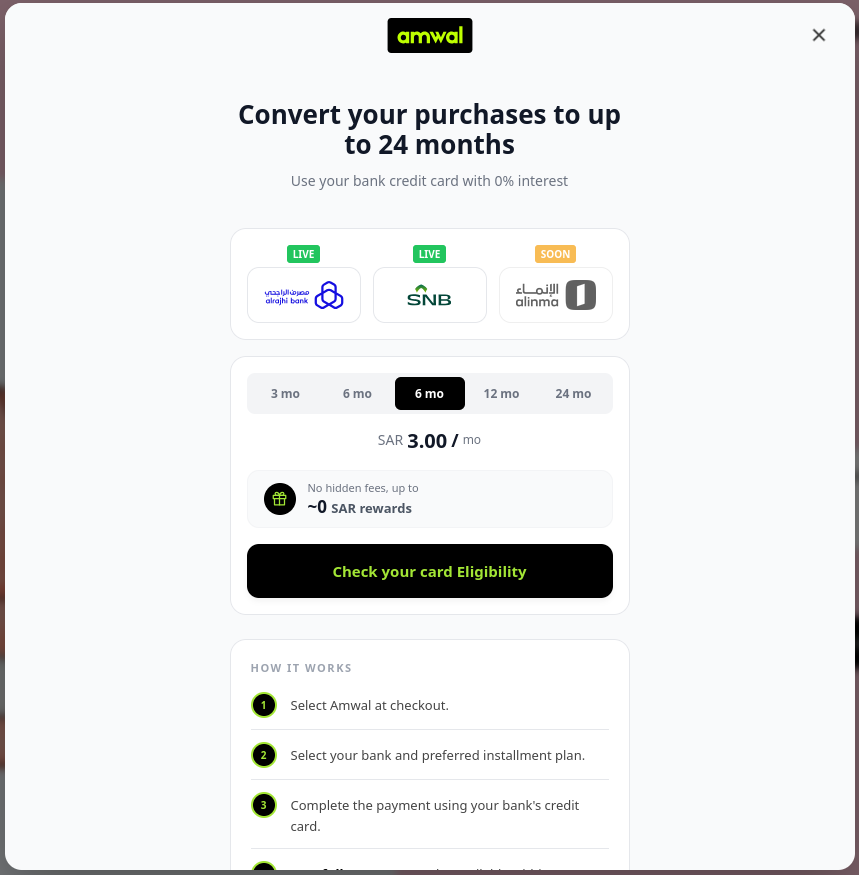
Default installment modal showing available bank installment details.
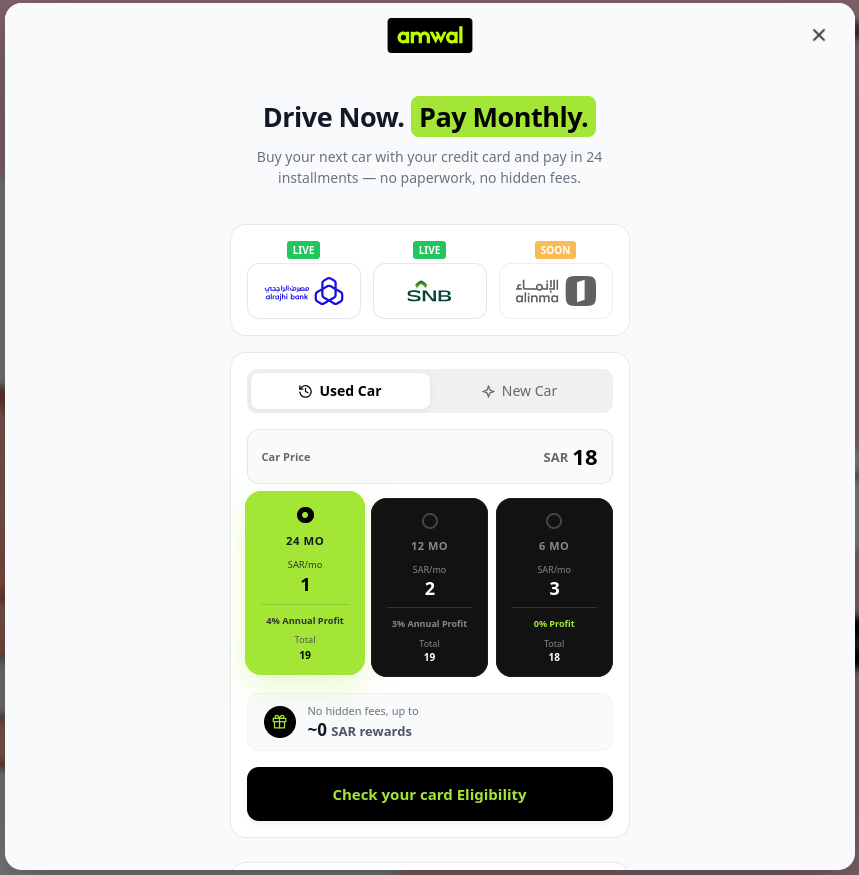
Cars installment modal with the alternate headline and cards tab layout.
Updated about 2 months ago