WooCommerce Installation Guide

Install the Amwal Checkout WooCommerce Plugin

🚧

You need an Merchant ID to be able to complete this guide

If you don't have your Merchant ID (SANDBOX / PRODUCTION key) yet, check out our Get Started With Amwal guide.

1. Login to your admin panel

After getting your Merchant ID, login to your store's admin panel to install and configure the Amwal plugin.

📘

Where can I find my store's admin panel?

You can find your store's admin panel at https://SELLER_STORE_URL/wp-admin. So if your store is served through https://amwal.tech, the admin panel will be at https://amwal.tech/wp-admin.

2. Find & Install the Plugin

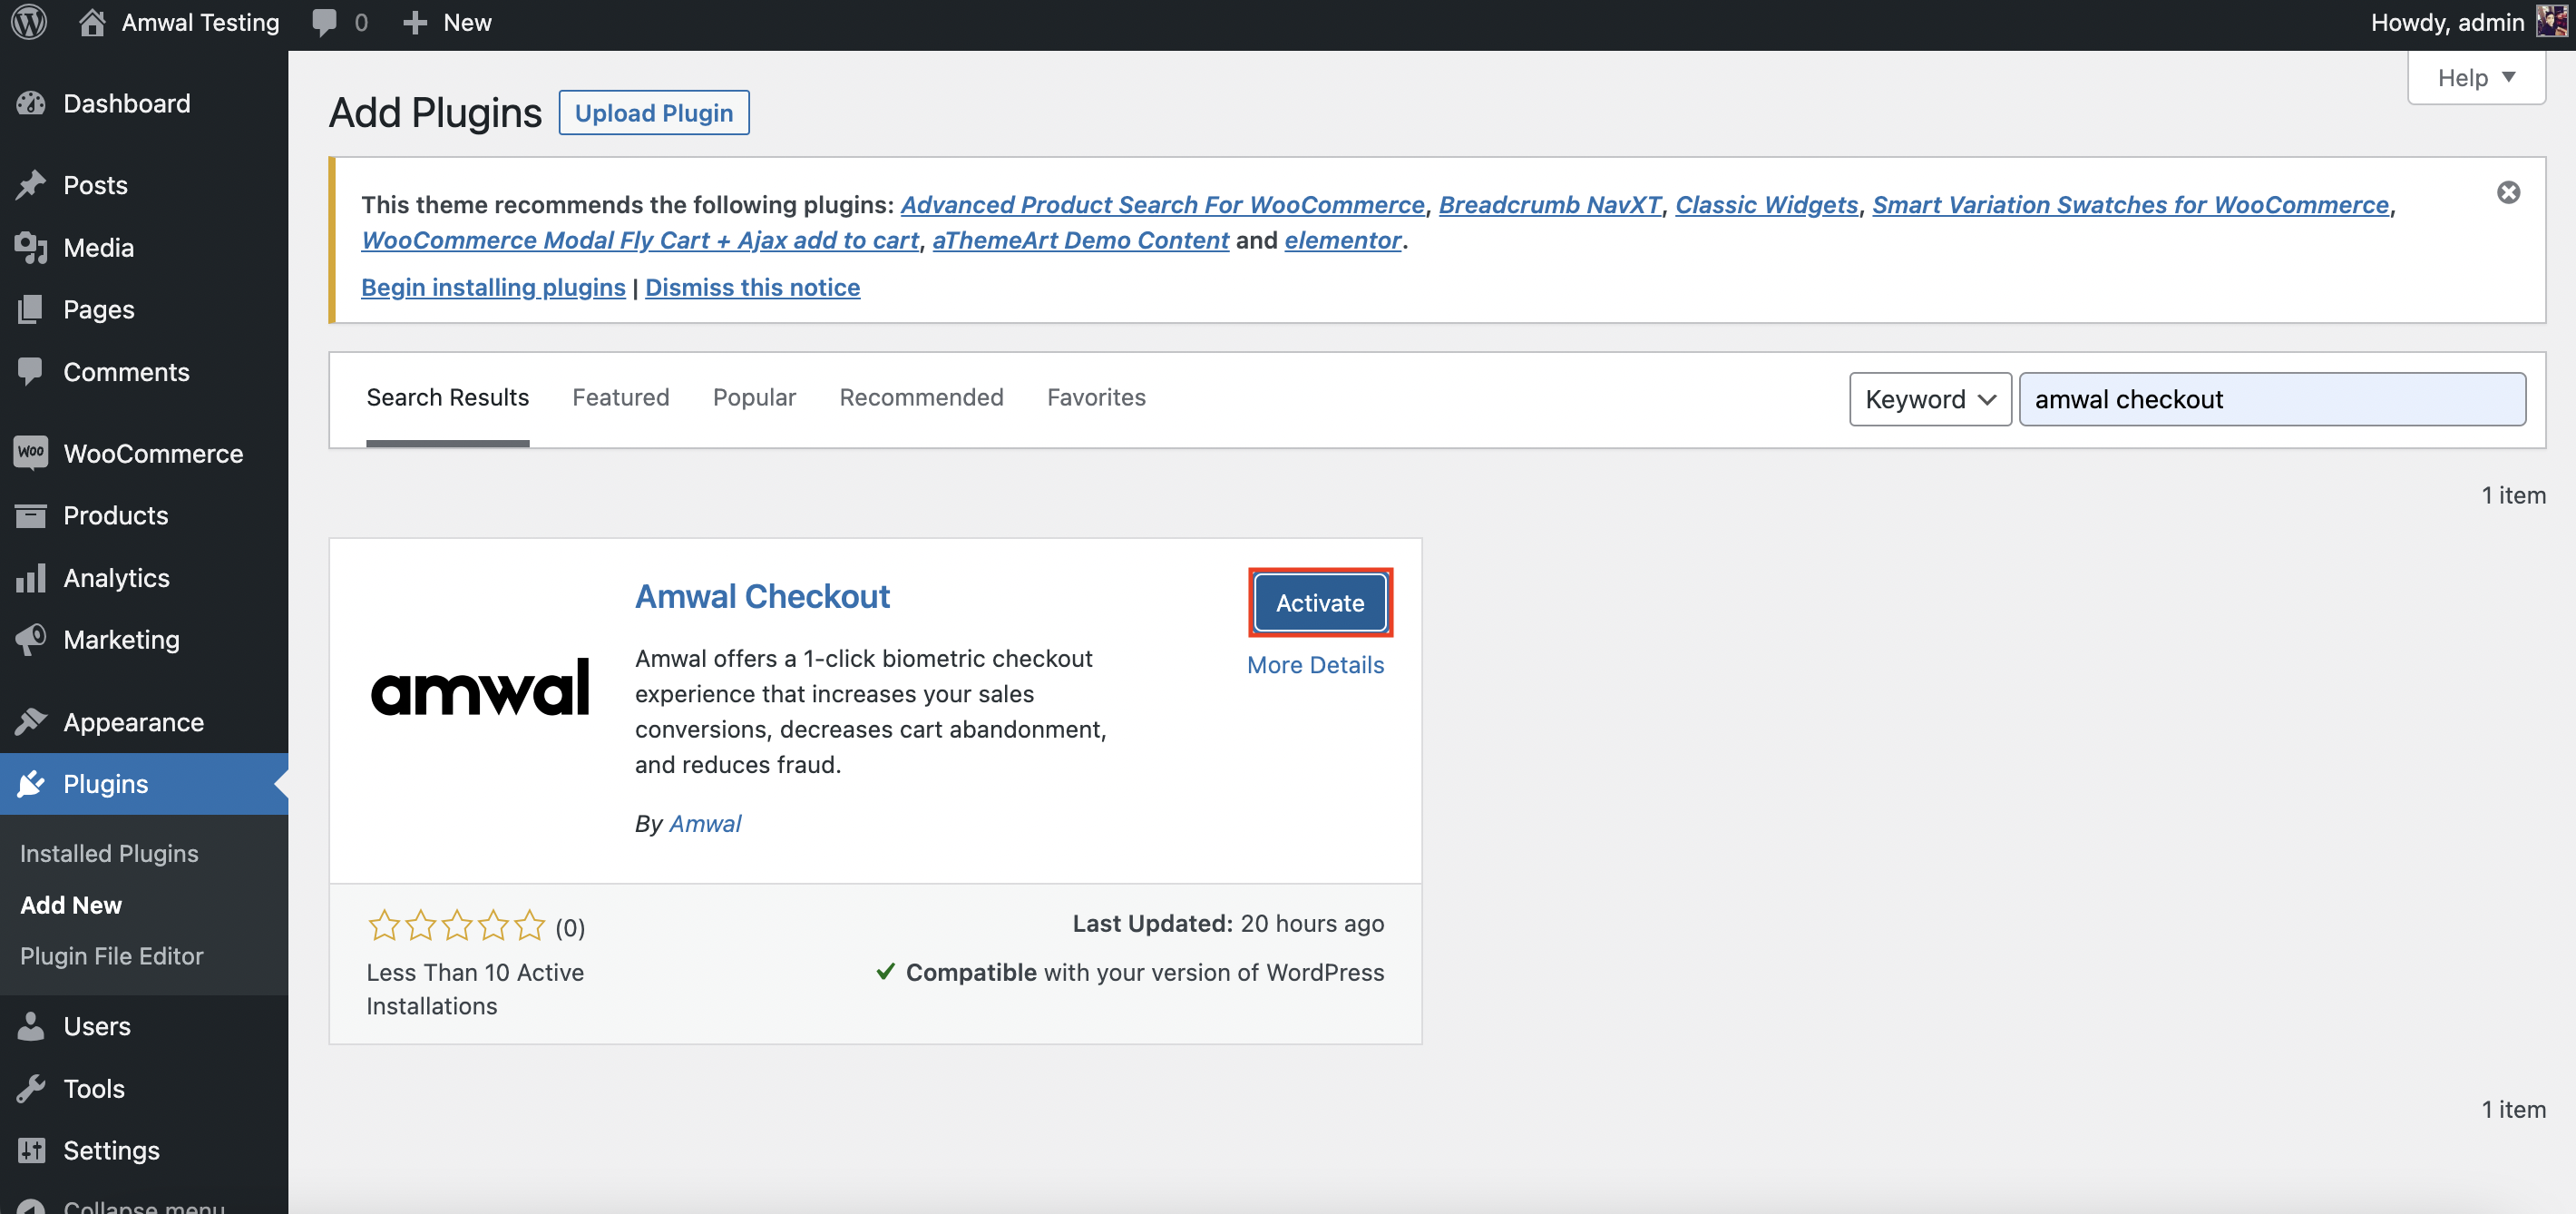
  1. Navigate to Plugins > Add new in your WordPress dashboard.

  2. Use the search bar in the top right corner to look for a plugin and search for 'amwal checkout".

  3. After finding the plugin in the results, click Install Now. You can also click the plugin name to view more details about it.

  1. To use the plugin, you’ll need to activate it. When the installation is finished (this usually takes a couple seconds), click Activate
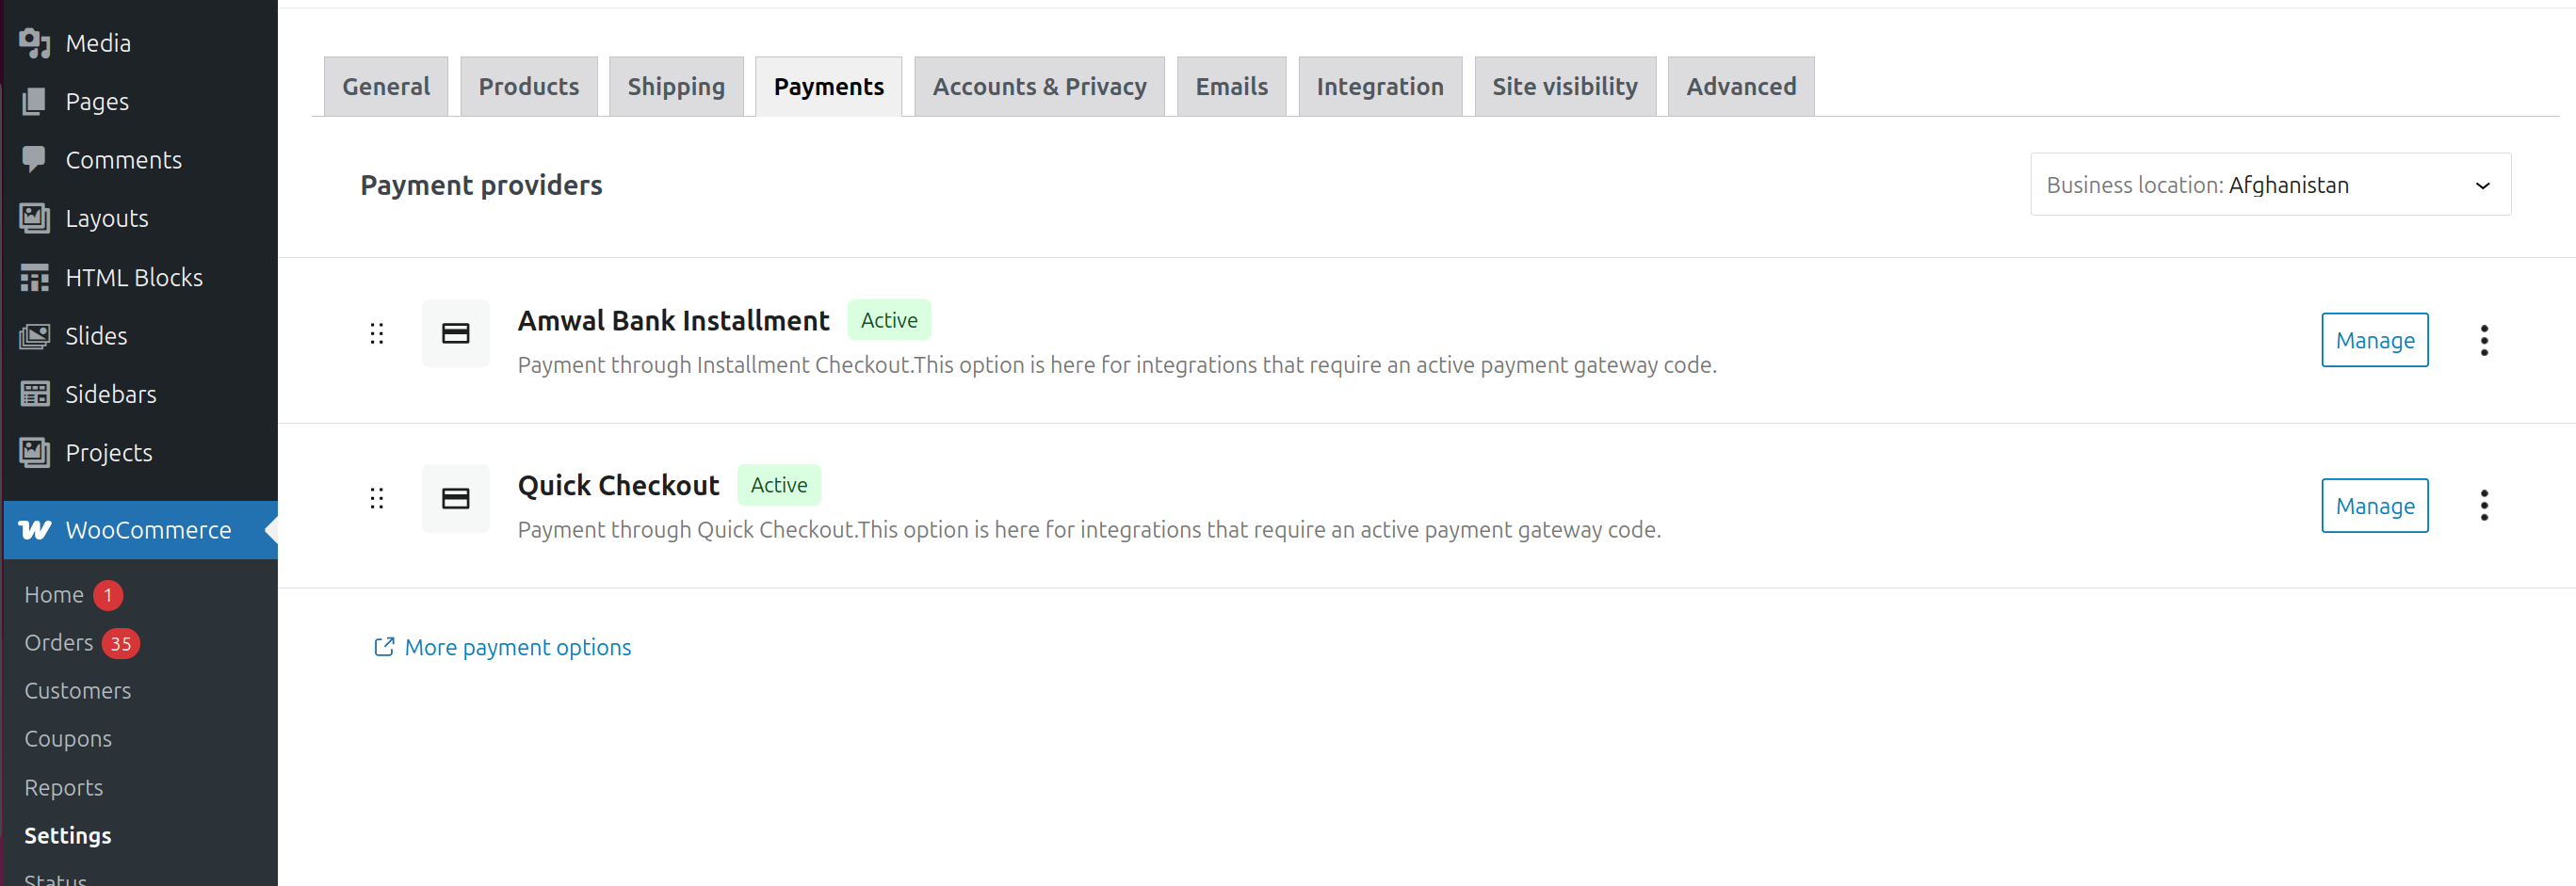
  1. You can find the plugin in the admin menu.

3. Make Sure to enable Amwal as payment method

To be able to see Amwal Checkout, you have to enable Amwal in payment methods in WooCommerce settings as follows
1- Go to WooCommerce settings

2- Click on Payments tab, you can enable Amwal – Amwal Checkout from here.

4. Disable Test Mode

That's it! You've now installed the Amwal Checkout plugin to your store.

The plugin is in "Test Mode" by default, meaning that only logged in administrators (like you!) will see the Amwal Checkout button.

By unchecking Test Mode and saving your changes, the button will be visible to all your shoppers, allowing them to checkout in seconds.

But first let's take a look at how you can the basic configurations for Amwal Checkout button in the Basic Configurations page


What’s Next

Once you've performed the initial plugin setup, take a look at the plugin settings to customize Amwal checkout experience