
Branch Management Guide
Learn how to add, edit, activate, deactivate, and search branches in the Amwal Merchant Dashboard.
Use Branch Management to add branches, update branch details, assign branch staff, and control branch status.
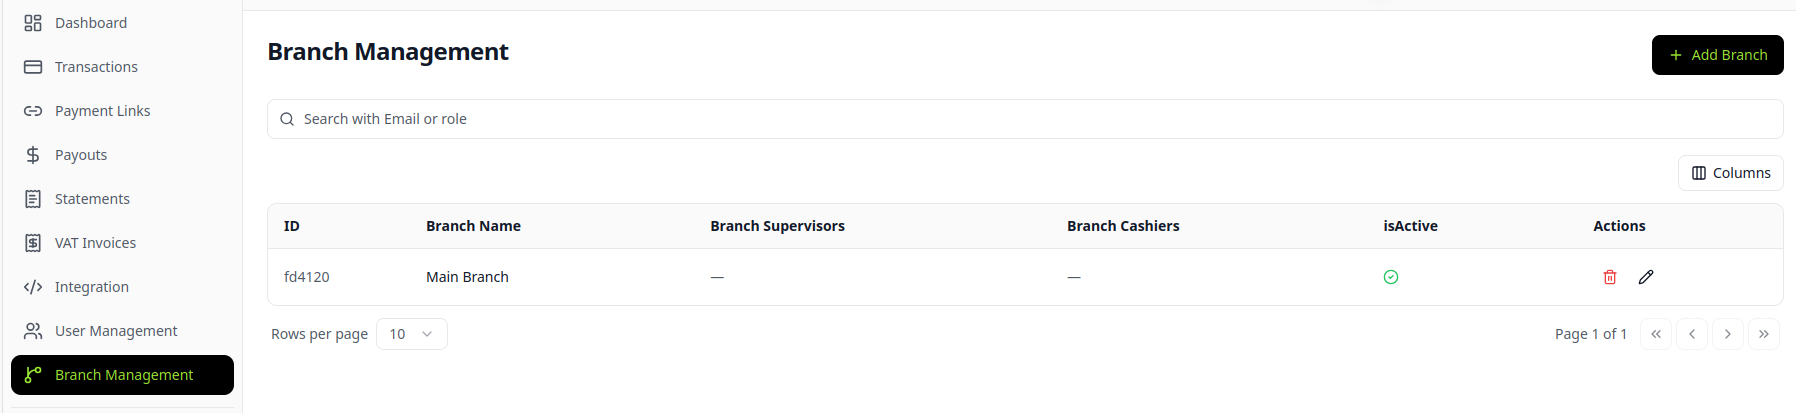
Accessing Branch Management
- Open Branch Management from the sidebar menu.
Adding a New Branch
- Click + ADD BRANCH in the top-right corner.
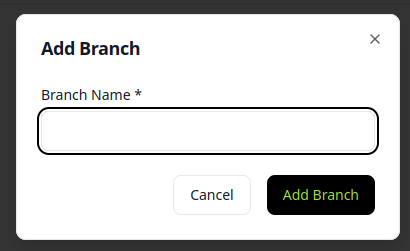
- Enter the branch details, including the branch name, supervisors, and cashiers.
- Save the changes to create the branch.
Viewing Branch Details
- Use the branch list to view each branch’s supervisors, cashiers, status, and edit options.
Editing a Branch
- Click the Edit icon next to the branch.
- Update the branch details.
- Save your changes.
Activating/Deactivating a Branch
- Use the Is Active? checkbox to enable or disable a branch.
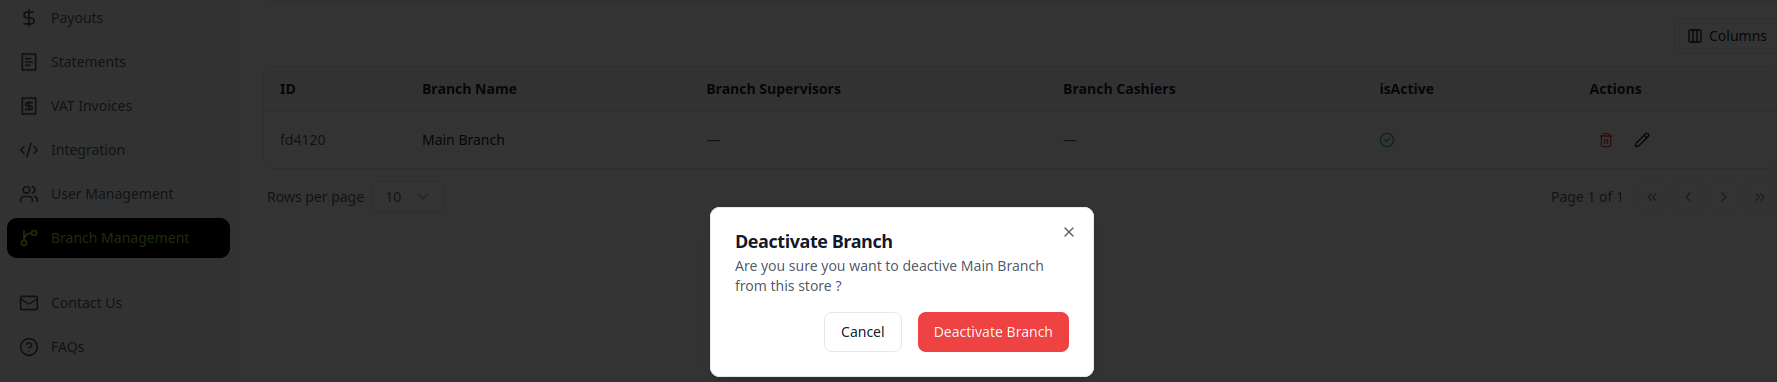
- Select the checkbox to activate the branch, or clear it to deactivate the branch.
Searching for a Branch
- Use the Search Bar to find a branch by ID or name.
Conclusion
The Branch Management module helps you manage branch details, assigned staff, and activation status from one place.
Updated 2 months ago
Did this page help you?