Quick Start
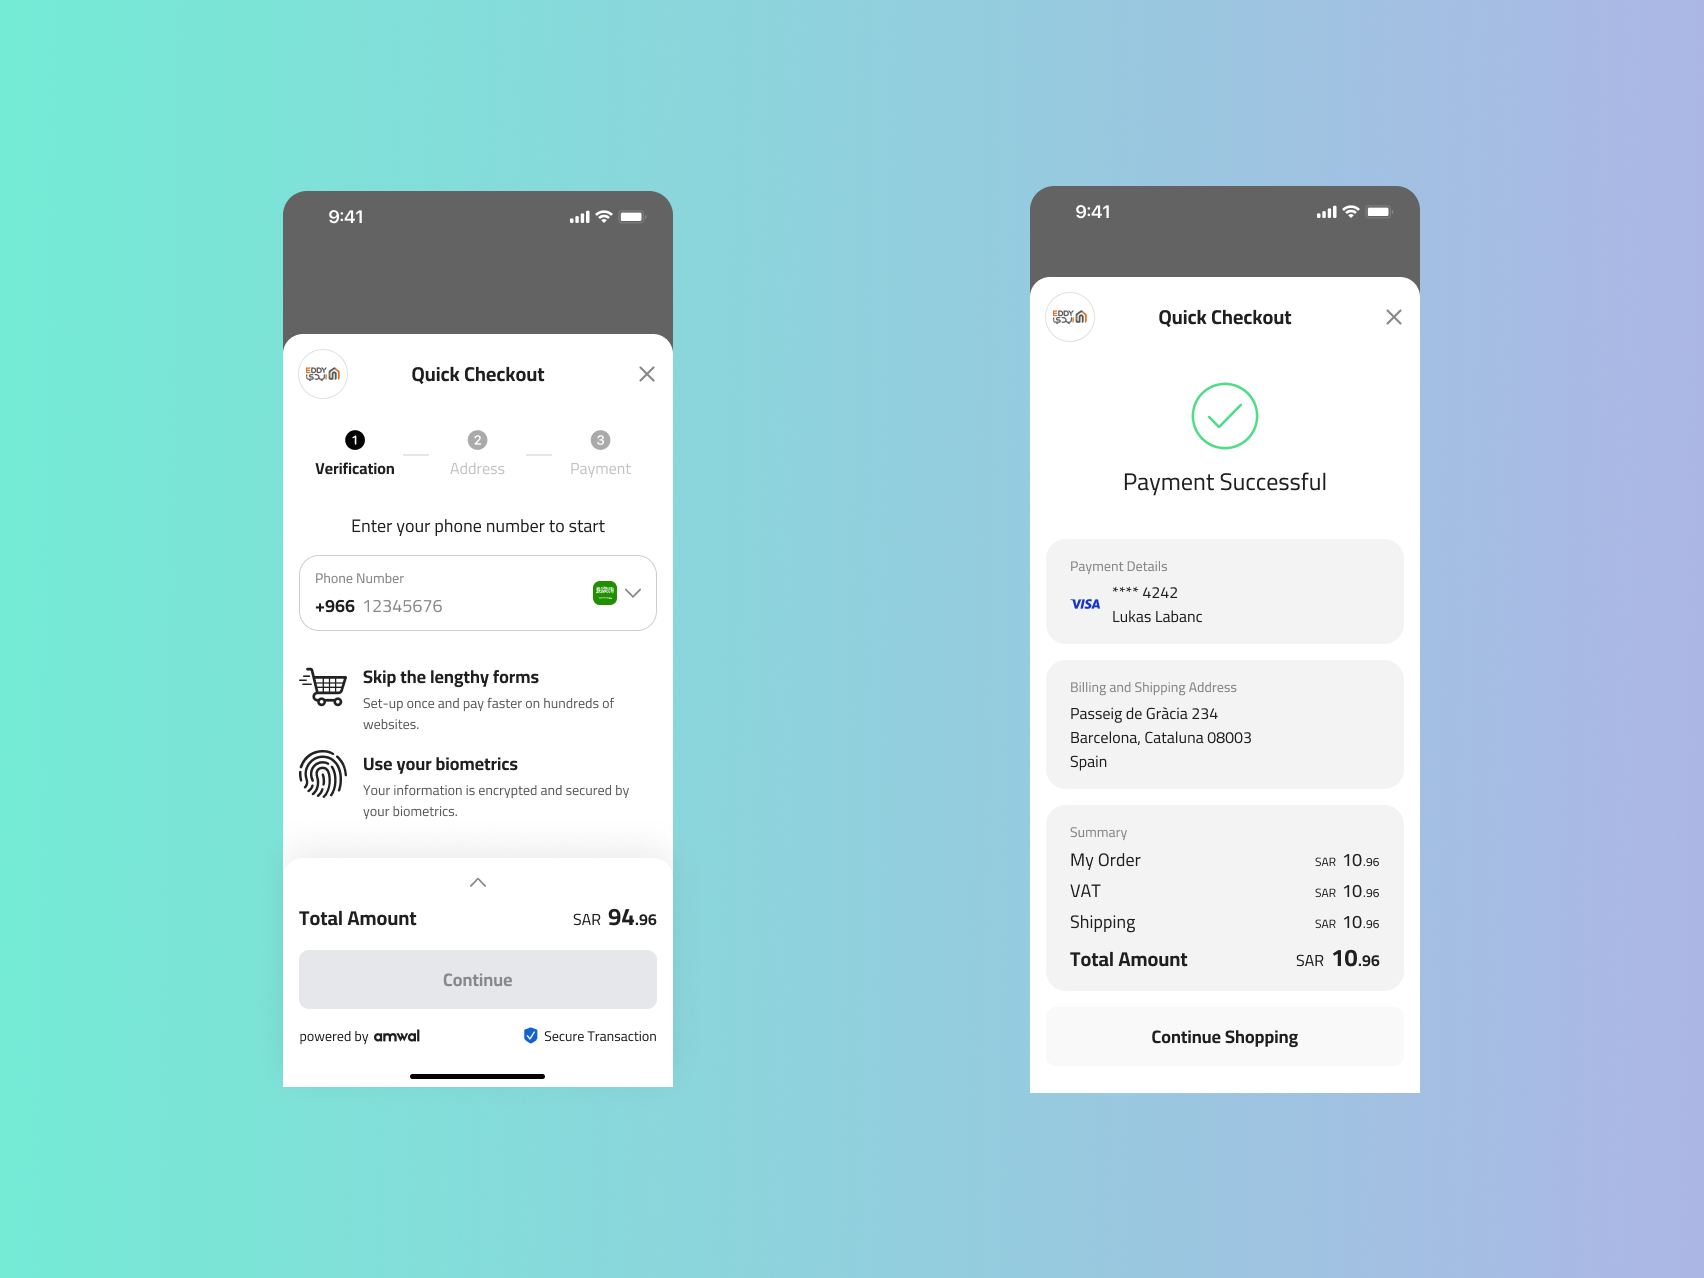
Integrate Amwal’s prebuilt payment Sheet into the checkout of your Android app with the PaymentSheet DSL friendly APIs.

Associate your Android app in our merchant dashboard
If you didn't already do this please refer back to this guide
Table of Contents
Quick Start Guide
1. Install Amwal Payment SDK in Android.
Add the following lines to the dependencies section in app/build.gradle
apply plugin: 'com.android.application'

android { ... }

dependencies {
  // ...

  // Amwal Payment SDK
implementation "tech.amwal.payment:payment:1.0.0-beta15"
}
Once you've updated your build.gradle file, you can force Android Studio to sync with your new configuration.
Latest Version
2. Initialize the PaymentSheet
This example shows how to create a payment sheet using Kotlin in Activity.
val merchantId: String = "Merchant Id Key"
// Creating a payment sheet with no configuration
val paymentSheetWithNoConfig = paymentSheet(
    merchantId = merchantId
)

// Creating a payment sheet with configurations
val paymentSheet = paymentSheet(
    merchantId = merchantId, // adding your merchantId
    paymentScope = {
        phoneNumber("1099013301") // autofill phone number
        countryCode("+20") // autofill country code
        appearance {
                        // customizing appearance of the sdk
        }
    }
) { result ->
                // reacting to results
    when (result) {
        PaymentSheetResult.Canceled -> {
            "user canceled"
        }

        is PaymentSheetResult.Failed -> {
            "payment failed ${result.error.message}"
        }

        is PaymentSheetResult.Success -> {
            "payment successful for transactionId ${result.transactionId}"
        }
    }
}
This snippet uses the PaymentSheet to create a payment sheet for online transactions.
There are two variables: paymentSheetWithNoConfig and paymentSheet. The first one is a payment sheet with no configuration, and the second one is a payment sheet with some configuration options.
| Parameter | Description |
|---|---|
merchantId | Identifies the merchant account, you can get yours at the merchant dashboard |
paymentScope | An optional lambda expression that allows configuring various aspects of the payment sheet, such as phone number, country code, and appearance. |
3.Showing Payment Sheet
button.setOnClickListener {
  // showing the payment to the user and start the process
    paymentSheet.show(
        PaymentSheet.Amount(
            total = 220F, tax = 0.0f, shipping = 0.0f, discount = 0.0f
        )
    )
}
The click listener calls the show function from the PaymentSheet class to show a payment sheet for online transactions.
The show function takes two parameters: an Amount object and a callback function.
The Amount class represents the amount details of the transaction, such as total, tax, shipping, and discount. The values are given in float type.
The PaymentSheetResult object represents the result of the payment sheet operation, such as canceled, completed, or failed.
4. Listen for results
button.setOnClickListener {
    paymentSheet.show(
        PaymentSheet.Amount(
            total = 220F, tax = 0.0f, shipping = 0.0f, discount = 0.0f
        )
    ){ result ->
        when (result) {
            PaymentSheetResult.Canceled -> TODO()
            PaymentSheetResult.Completed -> TODO()
            is PaymentSheetResult.Failed -> TODO()
        }
    }
}
Tips
Securely store your keys
The
merchantIdshould be stored securely and not embedded in the code as shown in this example. For more information on how to store tokens securely in Android, see this article.
Updated over 1 year ago